Can you really store sunlight and power your devices anytime you want? With solar energy now accounting for more than four-fifths of all new renewable capacity globally (IEA), more people are turning to off-grid power solutions than ever before.
To charge a battery with a solar panel, you must connect the solar panel to a solar charge controller, which then connects to the battery to regulate voltage and current safely and prevent overcharging.
In this guide, you will learn how to charge a battery with a solar panel, how charge controllers work, the correct wiring steps, battery types you should use, and how to avoid common mistakes that can damage your system. This will help you build a safe, efficient, and reliable solar power setup for your cabin, RV, or DIY project.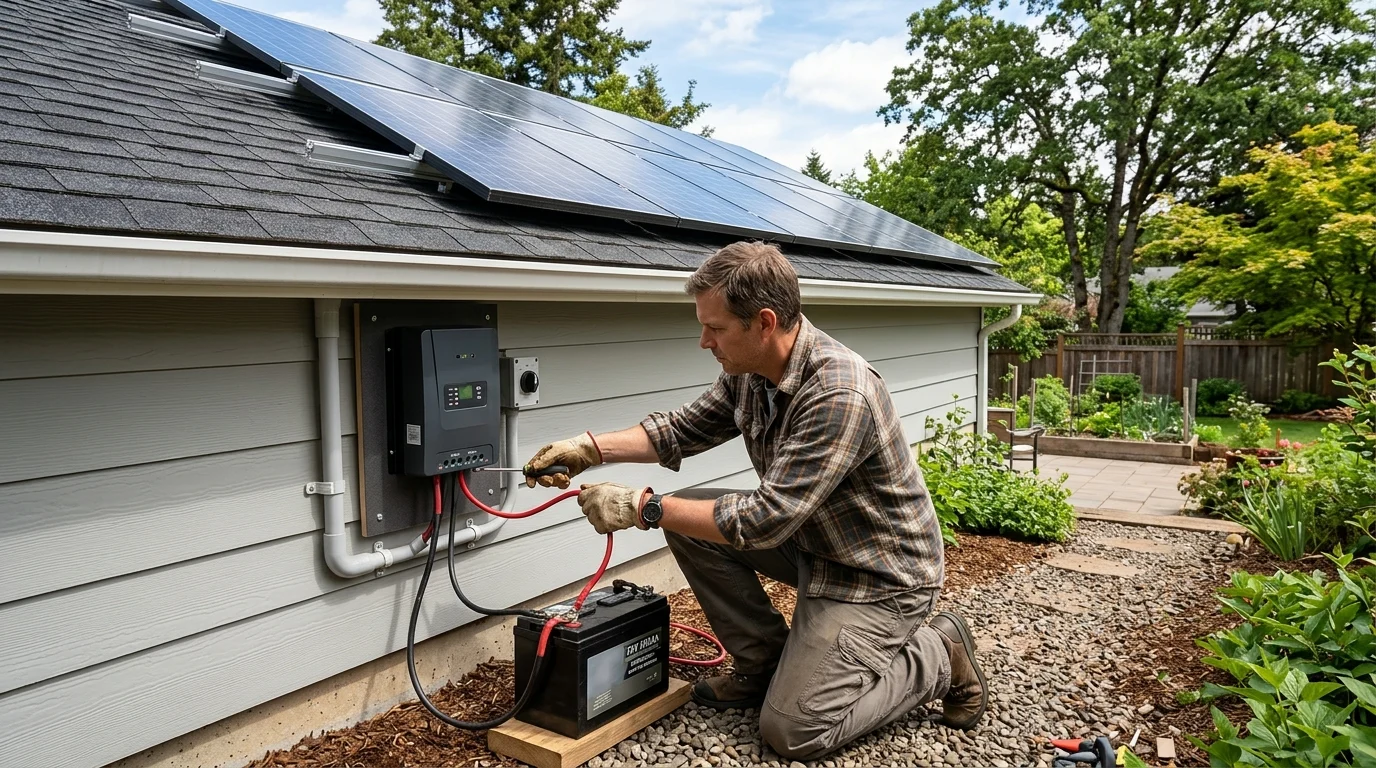
How to Charge a Solar Battery
To charge a battery with a solar panel safely, follow these core steps:
- Connect the battery to the solar charge controller first.
- Connect the solar panel to the charge controller second.
- Place the solar panel in direct sunlight.
The charge controller acts as a safety barrier, preventing the solar panel from overcharging and ruining your battery.
How Solar Panels Send Power to a Battery
A solar panel captures sunlight and converts it into direct current (DC) electricity. This electricity flows through a solar charge controller, which adjusts the voltage to match the battery’s requirements, allowing the power to safely refill the battery cells.
Solar panels are made of photovoltaic cells. These cells absorb sunlight and turn it into direct current (DC) electricity. Batteries also store power as DC electricity, which makes them a great match.
However, you cannot just wire a solar panel directly to a battery. Solar panels are highly unpredictable. The voltage they produce changes constantly based on the amount of sunlight hitting them.
A standard 12-volt solar panel can actually produce up to 20 volts in bright sunlight. If you send 20 volts directly into a 12-volt battery, you will overheat the battery. This can destroy the battery cells, cause leaks, or even start a fire.
Additionally, electricity likes to flow from high voltage to low voltage. At night, when the solar panel stops producing power, its voltage drops to zero. Without protection, the electricity stored in the battery would flow backward into the solar panel, draining your battery overnight.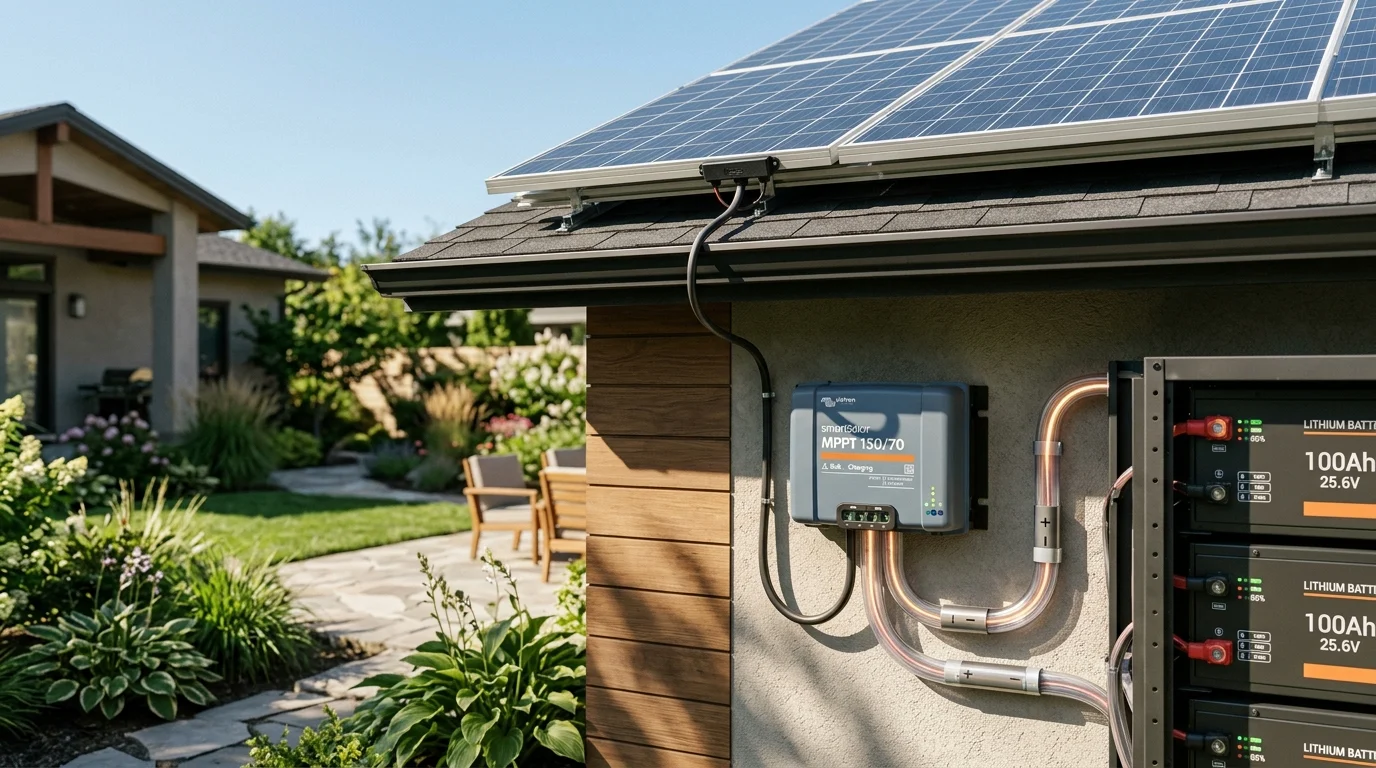
Solar Charge Controllers and Why They Matter
A solar charge controller is an electronic device placed between a solar panel and a battery. It acts as a gatekeeper, preventing overcharging during the day and blocking electrical backflow from the battery to the panel at night, which preserves battery health.
A solar charge controller is the brain of your solar setup. It monitors the battery’s voltage and controls the amount of power flowing from the panels. There are two primary types of charge controllers used today: Pulse Width Modulation (PWM) and Maximum Power Point Tracking (MPPT).
PWM Charge Controllers
PWM controllers are older, simpler devices. They act like a rapid on-off switch. When the battery is nearly full, the controller reduces the amount of power sent to it.
PWM controllers are inexpensive and work well for small systems. However, they are not highly efficient because they force the solar panel to operate at the battery’s lower voltage, wasting potential power.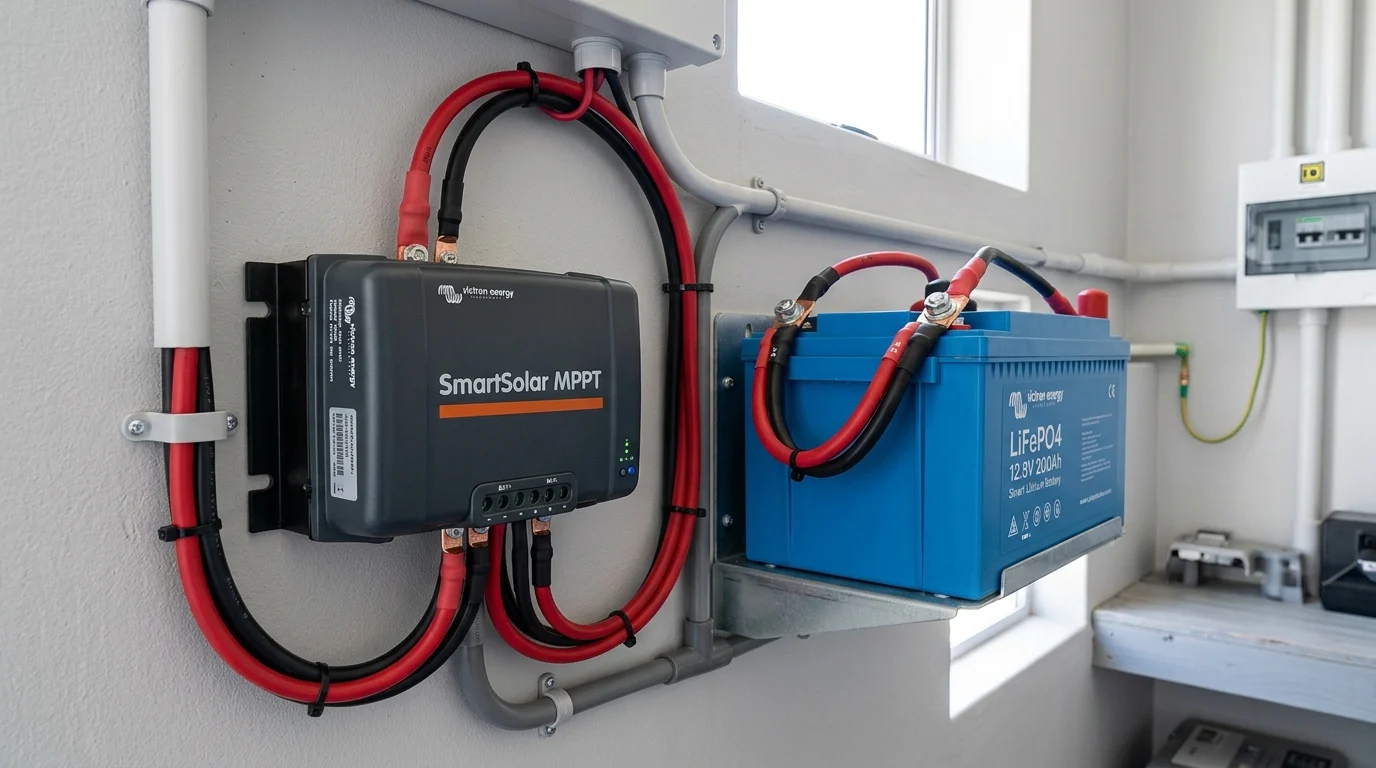
MPPT Charge Controllers
MPPT controllers are modern and highly efficient. They use electronic tracking to find the exact point where the solar panel produces the most power.
An MPPT controller takes the excess voltage from the panel and converts it into extra current for charging. This makes them up to 30% more efficient than PWM controllers, especially in cold or cloudy weather.
| Feature | PWM Controller | MPPT Controller |
|---|---|---|
| Cost | Low | Medium to High |
| Efficiency | 70% to 75% | 95% to 99% |
| Ideal System Size | Small (under 200 Watts) | Large (over 200 Watts) |
| Performance in Shade | Poor | Excellent |
Choosing the Right Battery for a Solar Setup
Choosing the right solar battery depends on your budget and power needs. Lead-acid and AGM batteries are affordable but have a shorter lifespan, while Lithium Iron Phosphate (LiFePO4) batteries offer high efficiency, deeper discharge capacity, and a much longer life.
You cannot use a standard car battery for a solar power system. Car batteries are designed to deliver a quick, massive burst of current to start an engine, and then recharge immediately. If you drain a car battery deeply, it will degrade quickly. Instead, you need a deep-cycle battery.
Sealed Lead-Acid (SLA) and Gel Batteries
These are traditional deep-cycle batteries. They are completely sealed, meaning they do not spill and require no regular maintenance. They are highly reliable and affordable upfront, making them popular for budget setups.
Absorbed Glass Mat (AGM) Batteries
AGM batteries are an advanced type of lead-acid battery. They hold liquid electrolyte in glass mats between the plates. They charge faster than standard lead-acid batteries and handle vibrations well, which makes them ideal for RVs and boats.
Lithium Iron Phosphate (LiFePO4) Batteries
Lithium batteries are the premier choice for modern solar systems. They are lightweight, highly efficient, and can be discharged up to 80% or 90% without damage. While they cost more initially, they last up to ten times longer than lead-acid options, saving money over time.
| Battery Type | Lifespan (Cycles) | Safe Discharge Limit | Weight | Relative Cost |
|---|---|---|---|---|
| Lead-Acid / Gel | 300 – 500 | 50% | Heavy | Low |
| AGM | 400 – 700 | 50% | Heavy | Medium |
| Lithium (LiFePO4) | 3,000 – 5,000 | 80% – 90% | Light | High |
Connecting a Solar Panel to a Battery Safely
To safely connect a solar setup, always connect the battery to the charge controller first so the controller can detect the system voltage. Next, connect the solar panel to the controller, and finally, connect any electrical loads directly to the controller or battery.
Safety is critical when working with electrical components. You must follow a precise sequence when wiring your system to avoid damaging your equipment.
Step 1: Connect the Battery to the Charge Controller
Attach the positive (+) wire from the battery to the positive battery terminal on the charge controller. Next, attach the negative (-) wire.
Connecting the battery first allows the charge controller to turn on and identify whether your system is 12 volts or 24 volts. If you connect the solar panel first, the controller can get confused by the high voltage and overheat.
Step 2: Connect the Solar Panel to the Charge Controller
Cover your solar panel with a blanket or turn it face down so it does not produce electricity while you handle the wires. Connect the positive (+) wire from the panel to the positive solar terminal on the controller. Connect the negative (-) wire. Once secured, uncover the solar panel to start the power flow.
Step 3: Connect Your Devices (Loads)
If you are running small DC devices like lights, you can connect them directly to the “Load” terminals on the charge controller. If you are using an inverter to run standard household appliances, connect the inverter directly to the battery terminals, not the charge controller.
The Disconnection Process
If you ever need to take the system apart, you must reverse these steps exactly:
- Disconnect the solar panels from the controller.
- Disconnect the battery from the controller.
How Long It Takes to Charge a Battery With Solar Power
The time it takes to charge a battery with solar power is calculated by dividing the battery’s capacity in watt-hours by the usable wattage produced by the solar panel. For example, a 100Ah 12V battery (1200Wh) takes about 12 hours to charge using a 100W panel in perfect conditions.
To calculate your charging time, you first need to convert your battery’s capacity into watt-hours. You do this by multiplying the battery’s amp-hours (Ah) by its voltage (V).
Let us look at a practical example using a standard 100Ah 12-volt battery:
Now, let us assume you are using a 100-watt solar panel. In a perfect world, a 100-watt panel would provide 100 watts of power every hour.
However, solar setups face real-world power losses. Heat, wiring resistance, and charge controller inefficiencies waste about 20% to 30% of your power.
An average 100-watt solar panel actually produces closer to 75 or 80 watts of real power per hour of direct sunlight. Therefore, charging a fully drained 100Ah lead-acid battery with a single 100-watt panel will realistically take 15 to 16 hours of ideal sunlight.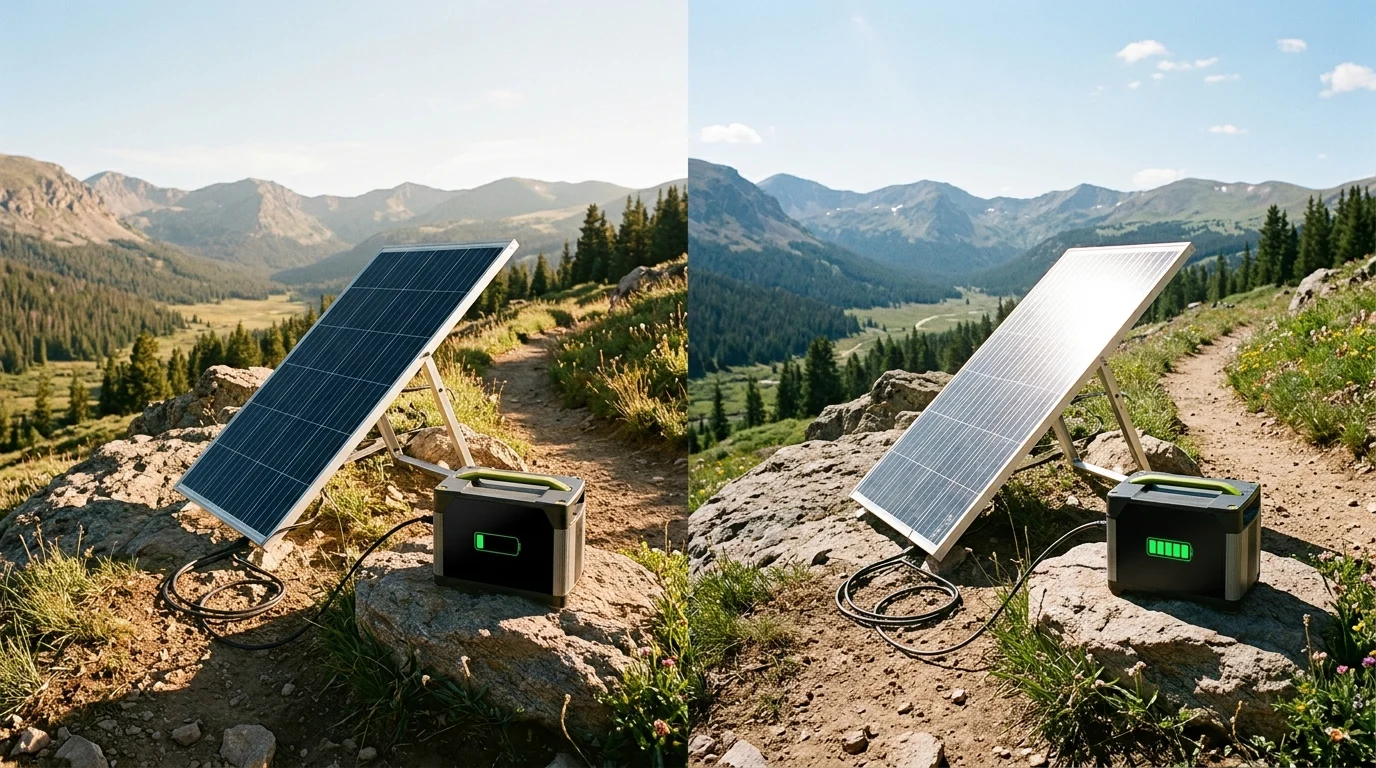
Factors That Affect Solar Battery Charging Speed
Solar battery charging speed is affected by sunlight intensity, solar panel angle, shading from trees or clouds, outdoor temperature, and system efficiency losses. Maximizing direct exposure to the sun and keeping panels cool ensures the fastest possible charging times.
Sunlight Intensity and Peak Sun Hours
The sun’s strength changes throughout the day. The term “peak sun hours” refers to the hours when sunlight is strong enough to produce maximum power, usually around midday. If your region only receives 4 peak sun hours per day, your battery will charge much slower than it would in a sunny desert climate.
Panel Angle and Orientation
Solar panels must face the sun directly to perform at their best. If you live in the Northern Hemisphere, your panels should face true south. If you live in the Southern Hemisphere, they should face true north. Tilting the panels to match your latitude ensures they catch the most sunlight year-round.
Shading and Obstructions
Even a tiny amount of shade can drastically reduce a solar panel’s output. If a tree branch casts a shadow over just one section of a standard panel, it can drop the power output of the entire panel by half. Keep the surface clear of leaves, dirt, and dust.
Temperature and Weather Conditions
Surprisingly, solar panels operate best in cool conditions. High temperatures cause the electrical components to become less efficient, reducing the overall voltage output. Heavy cloud cover, rain, or snow will also block light waves and slow down your charging speed significantly.
Using Solar Panels to Charge Deep Cycle Batteries
Charging deep cycle batteries with solar panels requires a charge controller matched to the battery’s specific chemistry. Deep cycle batteries are designed for repeated deep discharges, making them perfect for storing solar energy, provided they are charged using the correct multi-stage voltage profile.
Deep-cycle batteries require a multi-stage charging process to keep them healthy. A quality charge controller handles this automatically by moving through three distinct stages: Bulk, Absorption, and Float.
1. The Bulk Stage
During the bulk stage, the controller sends as much current as possible to the battery at a constant rate. This stage does the heavy lifting, refilling the battery up to about 80% of its capacity quickly.
2. The Absorption Stage
Once the battery reaches a set voltage limit, the controller slows down the current flow while holding the voltage steady. This allows the battery to absorb the remaining 20% of its capacity deeply without overheating.
3. The Float Stage
When the battery is completely full, the controller drops the voltage to a safe, low level. This is often called a “trickle charge.” It keeps the battery topped off and prevents it from losing power naturally while standing idle.
Common Mistakes When Charging Batteries With Solar Panels
Common solar charging mistakes include connecting the solar panel before the battery, omitting a charge controller, mixing different battery types, using undersized wiring, and ignoring shading. Avoiding these errors protects your equipment from permanent damage and performance drops.
- Forgetting the Charge Controller: Connecting a panel directly to a battery will lead to overcharging, dried-out electrolytes, and ruined battery cells.
- Wrong Connection Sequence: Connecting the solar panel to the controller before attaching the battery can cause the controller to malfunction instantly.
- Mixing Old and New Batteries: Wiring an old battery together with a new one causes the old battery to drain the new one, reducing the lifespan of both.
- Using Undersized Wires: Thin wires create electrical resistance, causing energy to turn into dangerous heat instead of charging your battery.
- Mixing Battery Chemistries: Never connect a lithium battery and a lead-acid battery to the same charge controller simultaneously. They require completely different voltage settings.
Preventing Overcharging and Battery Damage
You can prevent overcharging and battery damage by installing a high-quality solar charge controller and setting it to your exact battery chemistry. A properly configured controller automatically reduces or stops the electrical current once the battery reaches its maximum safe voltage limit.
Overcharging happens when a power source continues to force current into a battery that is already at full capacity. This creates severe chemical stress inside the battery cells.
In lead-acid batteries, overcharging causes the liquid water inside the electrolyte mixture to boil off into oxygen and hydrogen gases. This can bulge the battery case, dry out the internal plates, and permanently reduce capacity.
In lithium batteries, overcharging can trigger thermal runaway. This is a dangerous chain reaction where the battery gets hotter and hotter, eventually leading to a rupture or a serious fire.
To protect your system, always check your charge controller’s screen settings. Ensure the selected battery profile matches your battery type exactly. Modern digital controllers feature temperature sensors that monitor the battery’s warmth and lower the charging rate automatically if things get too hot.
Portable vs Permanent Solar Battery Charging Systems
Portable solar systems use lightweight, folding panels and solar generators for temporary travel and camping. Permanent solar systems utilize rigid, roof-mounted panels and dedicated battery banks designed for long-term, high-capacity off-grid homes, cabins, or emergency backup power.
When setting up a solar battery charging system, you must decide between a portable layout and a permanent installation. Your choice depends entirely on how you plan to use the power.
Portable Solar Charging Systems
Portable setups use folding, lightweight solar panels made of durable fabric or thin frames. They often pair directly with “solar generators,” which are all-in-one boxes containing a built-in charge controller, battery, and power outlets.
These systems require no complex wiring and are perfect for weekend camping trips, tailgating, or small emergency kits. However, they offer limited capacity and must be manually unpacked and packed away for every use.
Permanent Solar Charging Systems
Permanent installations use heavy, rigid solar panels mounted inside aluminum frames. These panels are bolted securely to the roof of a house, cabin, or vehicle.
The wires run through a fixed electrical path to a dedicated component wall where the charge controller, large battery bank, and safety fuses reside. These systems cost more and require careful installation, but they run completely automatically and offer massive power capacity for decades.
| Feature | Portable Systems | Permanent Systems |
|---|---|---|
| Installation Difficulty | Very Easy (Plug-and-Play) | Medium to High (Requires Tools) |
| Durability | Moderate (Prone to physical wear) | High (Weatherproof and rigid) |
| Power Capacity | Low to Medium | High to Massive |
| Mobility | Excellent (Fits in a car trunk) | None (Fixed in place) |
Conclusion
Charging a battery with a solar panel is a simple and efficient way to access clean, off-grid power. It relies on three key components: a solar panel, a charge controller, and a battery working together to safely collect, regulate, and store energy.
For best results, connect the battery to the controller first, and use a quality MPPT controller with a properly sized LiFePO4 battery to improve performance and safety.
If you want a reliable, custom solar solution, Solaroof NY can help you design a system that fits your energy needs and location.
Contact Solaroof NY today to get started with a smarter, more efficient solar setup.
Get Started with Solaroof NY
Contact Solaroof NY today to get started with a smarter, more efficient solar setup.